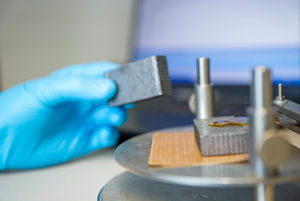
Thermal Analysis
The thermal analysis is an important method to measure physical or chemical properties of a material sample as a function of the temperature and/or time, while the test is performed with a defined and controlled temperature program.
The determination of thermal conductivity using the hot disc method is not directly a thermal analysis in the strict sense, but is listed here as a "thermal method".
A selection of further testing standards, norms and specifications can be found here.
DSC = Differential Scanning Calorimetry
DTA = Differential Thermal Analysis
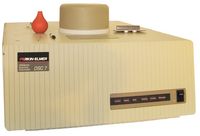
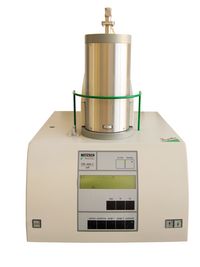
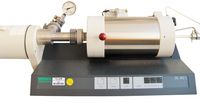
| Manufacturer: | Perkin Elmer | Netzsch |
| Type: | DSC 7 | STA 449 C Jupiter |
The change in enthalpy of a substance is measured in relation to temperature and/or time.
In DSC measurement, the sample is usually exposed to a temperature program (heating/cooling) and its behavior is measured in comparison to a reference sample (usually an empty sample pan). The difference of the necessary electrical heating power between sample and reference is observed in order to achieve the same temperature in both furnaces.
Increase in enthalpynbsp;→ endothermic process (heat must be supplied)
Reduction of enthalpynbsp;→ exothermic process (heat must be dissipated)
In DTA measurement, the sample and reference are in the same furnace and the temperature difference between sample and reference is applied to deduce exothermic processes (sample temperature increased) or endothermic processes (sample temperature decreased).
The measurements are possible in a temperature range from room temperature to 1500 °C.
Possible Outputs:
Information can be given on processes that cause an enthalpy change in the substance, e.g.:
• Melting
• Recrystallization
• Sublimation
• Solid-solid transformation
• Glass transition
• Decomposition (cracking)
• Vaporization
• Chemical reactions
• Concentration determination
Special Features:
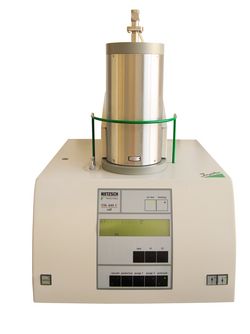
The Netzsch STA 449 C works simultaneously as a DSC/DTA and a thermobalance (TGA).
TGA = Thermogravimetric Analysis
| Manufacturer: | Netzsch |
| Type: | STA 449 C Jupiter |
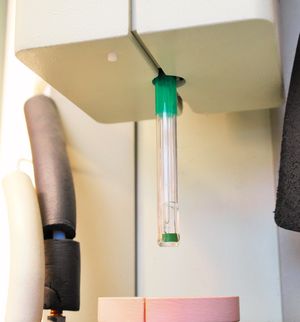
The thermobalance (or thermogravimetric analyzer) accurately measures changes in sample mass as a function of temperature and/or time. The sample is exposed in a furnace to a defined atmosphere and a temperature program (preferably increasing temperature) and the change in mass is measured using a very sensitive balance.
Depending on the type of sample and the selected atmosphere, possible causes for changes in the sample mass are, e.g.:
• Evaporation of moisture
• Release of bound water
• Oxidation or decomposition with simultaneous formation of gaseous degradation products
The analysis can be carried out ranged from room temperature up to 1500 °C.
Special Features:
The Netzsch STA 449 C instrument works simultaneously as a DSC/DTA and as a thermobalance (TGA).
DMA = Dynamic Mechanical Analysis
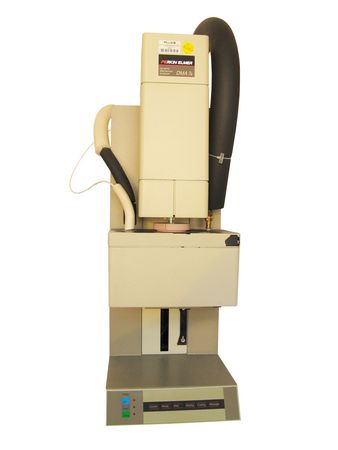
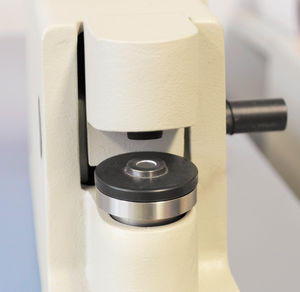
| Manufacturer: | Perkin Elmer |
| Type: | DMA 7e |
The DMA is used to determine the mechanical-thermal properties as a function of temperature, time and load.
The sample is loaded with a mostly sinusoidal force and the reaction of the sample is measured. Different characteristic values can be determined from the applied force, the deformation / displacement change and the counterforce resulting from the sample as well as its phase position. During the measurement, e.g., the temperature (-170 to 1000 °C), atmosphere, force, frequency and amplitude can be changed in order to investigate the influence of the respective quantities.
Possible Forms of Stress & Load:
• Bending
• Tensile
• Pressure / compression
• Torsion (torsion-DMA)
The following characteristic values can be calculated from the phase shift between the applied force and the sample reaction as well as the amplitude of this reaction:
• Complex dynamic modulus E*
• Storage modulus E'
• Loss modulus E''
• Mechanical loss factor - tan δ (tan delta)
These Parameters can provide Information about:
• Melting
• Recrystallization
• Solid-solid transformations
• Glass transition
• Softening without Tg
• Polymerization and post-crosslinking / post-curing
• Degradation / decomposition
Special Features:
The DMA 7e from Perkin Elmer can also be used as a TMA / dilatometer in static force mode.
TMA = Thermomechanical Analysis
DIL = Dilatometer
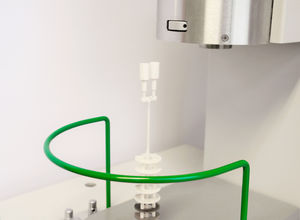
| Manufacturer: | Perkin Elmer | Netzsch |
| Type: | DMA 7e | DIL 402 C |
In thermomechanical Analysis (TMA), the acting force is variably adjustable. The analysis can be carried out in the temperature range from -170 to 1000 °C. The temperature of the sample can be adjusted to suit the application. When measuring with the dilatometer, the test samples are subjected to as small static forces as possible.
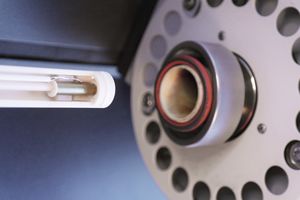
The thermomechanical analyzer or dilatometer measures the dimensional changes of the sample as a function of temperature (RT up to 1600 °C) and/or time. For this purpose, the sample is usually placed in a furnace under defined atmosphere in which the sample is heated as slowly and evenly as possible (according to the temperature program - usually heating-up). The resulting change in sample size is registered and evaluated by a displacement measuring system.
Possible Outputs:
• Expansion coefficient
• Glass transition temperature
• Compression properties
• Penetration at specific force and temperature
• Strain-stress behavior
• Static modulus of elasticity
• Shrinkage, softening
• Detection of possible stress/tension (technology)
Thermal Conductivity Analysis
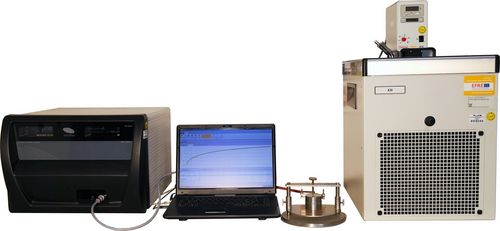
| Manufacturer: | Hot Disk AB |
| Type: | TPS 2500 S |
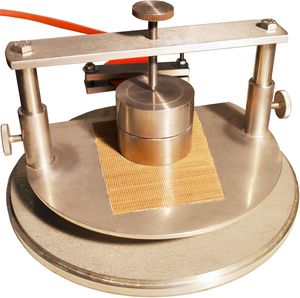
The thermal conductivity can be measured in the range from 0.005 W/(m*K) to 500 W/(m*K) on solid samples with a minimal diameter of 5 mm and a minimal thickness of 5 mm as well as on powders, gels and liquids in the temperature range from -40 to 180 °C.
Furthermore, analyses can be performed on thin coatings with layer thicknesses from 25 to 200 µm.
Advantages of the Method:
Universal measurement of thermal conductivity and thermal diffusivity on powders, liquids, gels and the most varied geometries of solids.
Test Standard:
ISO 22007-2 (2008)
Sample Requirements:
Requirements for the solid-state examination are two samples or two sample halves with a flat surface of a minimal 5 mm diameter or edge length and a sample thickness of at least 5 mm. With a suitable surface, non-destructive measurements can also be performed on entire components.
Applied Measuring Devices:
⇒ Please do not hesitate to contact us for questions and further information about our R&D and services offered. |
Overview of our Technical Equipment
- 3D Microscope
- Atomic Force Microscopy
- Buchholz Hardness Test
- Coater
- Coating Thickness Measurement
- Colorimeter & Spectrophotometer
- Cross Cutting Test
- Drop Ball Impact Test
- Environmental Test Engineering
- FT-IR (ATR) Spectroscopy
- Gloss Level Analysis
- Grind Gages (Grindometer)
- Irradiation Technology
- Measurement of Corrosion Current
- Mechanochemical Surface Treatment
- Mandrel Bending Test
- Palamat
- Panel Press
- Plastics Technology
- Pneumatic Hot-Melt Dispenser
- Potentiostat / Galvanostat
- Powder Coating
- Raman Spectroscopy
- Sample Preparation Technique
- Scratch & Scribing Tools
- Stirring & Mixing Technique
- TERA Ohmmeter
- Thermal Analysis
- Ultrasonic Testing System
- Universal Testing Machines


